So, you want to measure your internal conversion funnel, and you want to track every click. Awesome. But for the love of all that is holy, don’t do it with UTM parameters. We’ll explain why.
1. How UTM parameters work
Whenever you open up a website in your browser, it sends an HTTP request to the server managing that page. This includes info about where the link came from – whether a search engine like Google or another site such as cnn.com. If this data is missing, then it gets thrown into “Direct traffic” in Google analytics (their “miscellaneous” category).
Here’s the skinny on UTM parameters
- UTM stands for Urchin Tracking Modules
- They help you to track clicks to marketing campaigns
- They usually look a little something like this:
https://www.example.com/?utm_source=facebook&utm_medium=email&utm_campaign=winter-sale
UTM parameters are added to the end of a destination URL in a marketing campaign, and contain information on:
- Source (Required) – The source which sent the traffic (e.g. Facebook)
- Medium – What channel your link was used on (e.g. ppc)
- Campaign – The promotional campaign name (e.g. big-summer-blowout)
- Term – The search term (if relevant)
- Content – What was clicked (e.g. banner ad)
When you should use them
If you’re running external marketing campaigns, you can easily separate your paid and unpaid traffic on Google Analytics. (E.g. – Facebook doesn’t separate paid and unpaid traffic. It all shows up under one roof in Google Analytics).
This way, it becomes simple to accurately analyze individual campaign performance in a meaningful manner.
2. Why you shouldn’t use them for internal link tracking
Short answer: UTM parameters break your sessions. So you’ll be double counting your web traffic, which in turn will throw off your engagement tracking (CTR, bounce rate, conversion rate, etc.) making the whole reason you want to use them moot. Basically, your conversion tracking becomes FUBAR.
Long answer: UTM parameters are only intended for external links which point to your site because they cause Google Analytics to ignore the HTTP Referrer. Once a user lands on your website, there’s no reason to change the referrer – if you do, there are a few problems that arise:
- Double counting sessions: UTM parameters break the HTTP referrer, which starts a new session. So your session count will now be artificially inflated since one user’s session is now split in two.
- Inflating bounce rate: Because your session gets prematurely cut off, which happens immediately after the first page view, then the original session will be counted as a single page view before the user “leaves” – triggering a bounced session.
- Session duration becomes inaccurate: Session duration is a great directional metric to look at to determine if your content is helpful to users. But if a session is prematurely cut off, accurately measuring session duration goes out the window, along with any insights you could gleam.
- Inaccurate conversion attribution: If you brought in a user from SEO, but half way through the session they click on an internal link with a UTM parameter, and convert – SEO will not get the credit it deserves for that conversion. What’s worse – you could be making critical business decisions based on bad data, which could lead to huge revenue loss – or at least significant opportunity costs.
The Solution – Using your own URL parameters that won’t break Sessions
Inspiration for this was taken from Christian Ebernickel, who wrote a great piece on “ITMs”
First, you can set up URL parameters in the same categories as UTM parameters, so tracking (and comparing) your campaigns is easy.
First, you’ll want to set up “Source,” “Medium,” and “Content” if you’re a fintech startup. If you’re an ecommerce company – look to include “Campaign” as well, since you’ll probably want to track how well your different promotional sales do.
PRO TIP – in order to analyze your new URL parameters, you’ll have to set up custom dimensions in Google analytics.
- Click on “admin” in Google Analytics
- Go to “Property”
- Select “Custom Definitions”
- Select “Custom Dimensions”
- Now click on “+ New Custom Dimension”
- Add the name of your new URL parameter and the scope (select session)
Next, you’ll want to exclude query parameters from Google Analytics (so you don’t see the same url multiple times in reports)
Do this by going to:
- Select “Property” in “Admin”
- Select “View settings” in the menu
- Scroll down to “Exclude URL Query Parameters” and enter in your new URL parameters
- Save changes and you’re done!
Finishing up with Google Tag Manager
What you’ll need to do is store the content of your new URL parameters in user-defined variables and then send them to Google Analytics via the "page view" tag
1. Go to Google Tag Manager and click on the property you want to add variables to
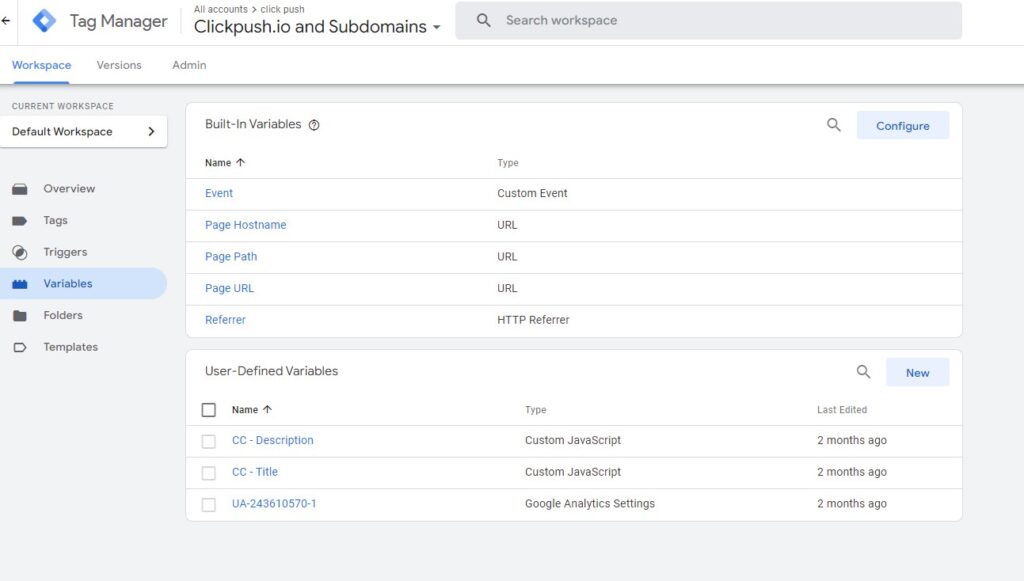
2. Go to “Variables”

3. Then click on “new” under “User-Defined Variables”
4. Enter in your variable information:
| Variable Configuration | What you should enter |
| Variable Type | URL |
| Component Type | Query |
| Query Key | (Your URL parameter) |
| More Settings -> URL Source | Page URL/ Default |
5. Click “Save” and repeat these steps for the other URL parameters
Connecting Google Analytics and Google Tag Manager
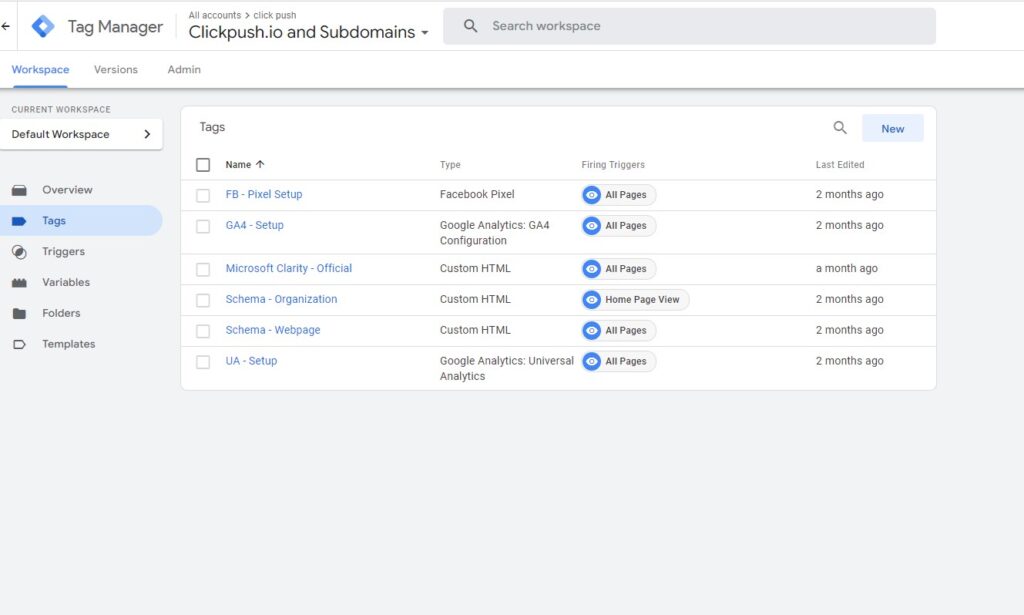
The last thing you’ll want to do is make sure your Analytics and Tag Manager accounts are connected. So head to “Tags” in Google Tag Manager, and click on your Google Analytics set up (here it’s Google Analytics: Universal Analytics)

Then just make sure your track type is set to “page view” – it should be, but always good to double check. Once that’s done, you’ll need to click on the check box that says “Enable overriding settings in this tag.”
Once you do that, a new tab will appear called “More Settings” – click on that, then open up “Custom Dimensions.” You’ll then input your new URL parameter with its corresponding index number from Google analytics
How to get the index number:
You remember when you added your new URL parameters to Google Analytics? You’ll need to go back to that screen (Admin > View > Custom Definitions > Custom Dimensions). Once there, you’ll see a table with all your new URL parameters. There’s a column called “index” with a number in it – grab the one that’s associated with the URL parameter you’re adding to Google Tag Manager.
You’re Done!
Now you can accurately track internal clicks to internal pages on your website without breaking the session and screwing up all your conversion tracking.


